We connected with Torie of ScotsHillHouse earlier this year and have been blown away by the genius of her DIY home projects. When we discovered that she is also a fan of home organization, we were curious to see how she'd approach the transformation of her craft closet and she did not disappoint. Read how she used some items she already owned to take her closet to the next level.

Hey there Neat Method Readers,
Today I am sharing all about how I transformed a messy closet into a functioning craft and supply closet. This closet has been a dumping zone for a lot of my décor items since we moved in. Here is a before picture.

As part of a broader clean up and purge, I decided it was time to tackle this closet and make it more functional for the family. As with many of you, we transitioned to virtual schooling in March and there has been a never-ending supply of random papers and other items floating around the house.
In addition, I did not have a designated spot for my craft supplies and this made it difficult to find things when I needed them. While my grand plan for a full crafting space is in the works, it was important and necessary to create a functioning system for the moment.
I started by cleaning everything out and taking stock of what needed to go in the closet. Here is the mood board I created.

I dedicated the top shelf to my sewing machine and supplies. Prior to finding a home, it sat in a rolling bag. While this is great, it made more sense to have it tucked away during this time. It is portable and not used very often, so it was a perfect place to store it.

The shelf below is dedicated to my craft supplies including paper, acrylic paint, and other tools. As with all my projects, I always aim for a budget friendly approach. I was able to get enough clear shoe box containers from a recent wardrobe purge.

The next shelf has the hyacinth baskets that I love. I used these earlier in the year for my pantry project and love the style and look. I have a miscellaneous bin for catch-all and two others for greeting cards and to corral my varied supply of 3M wall solutions.

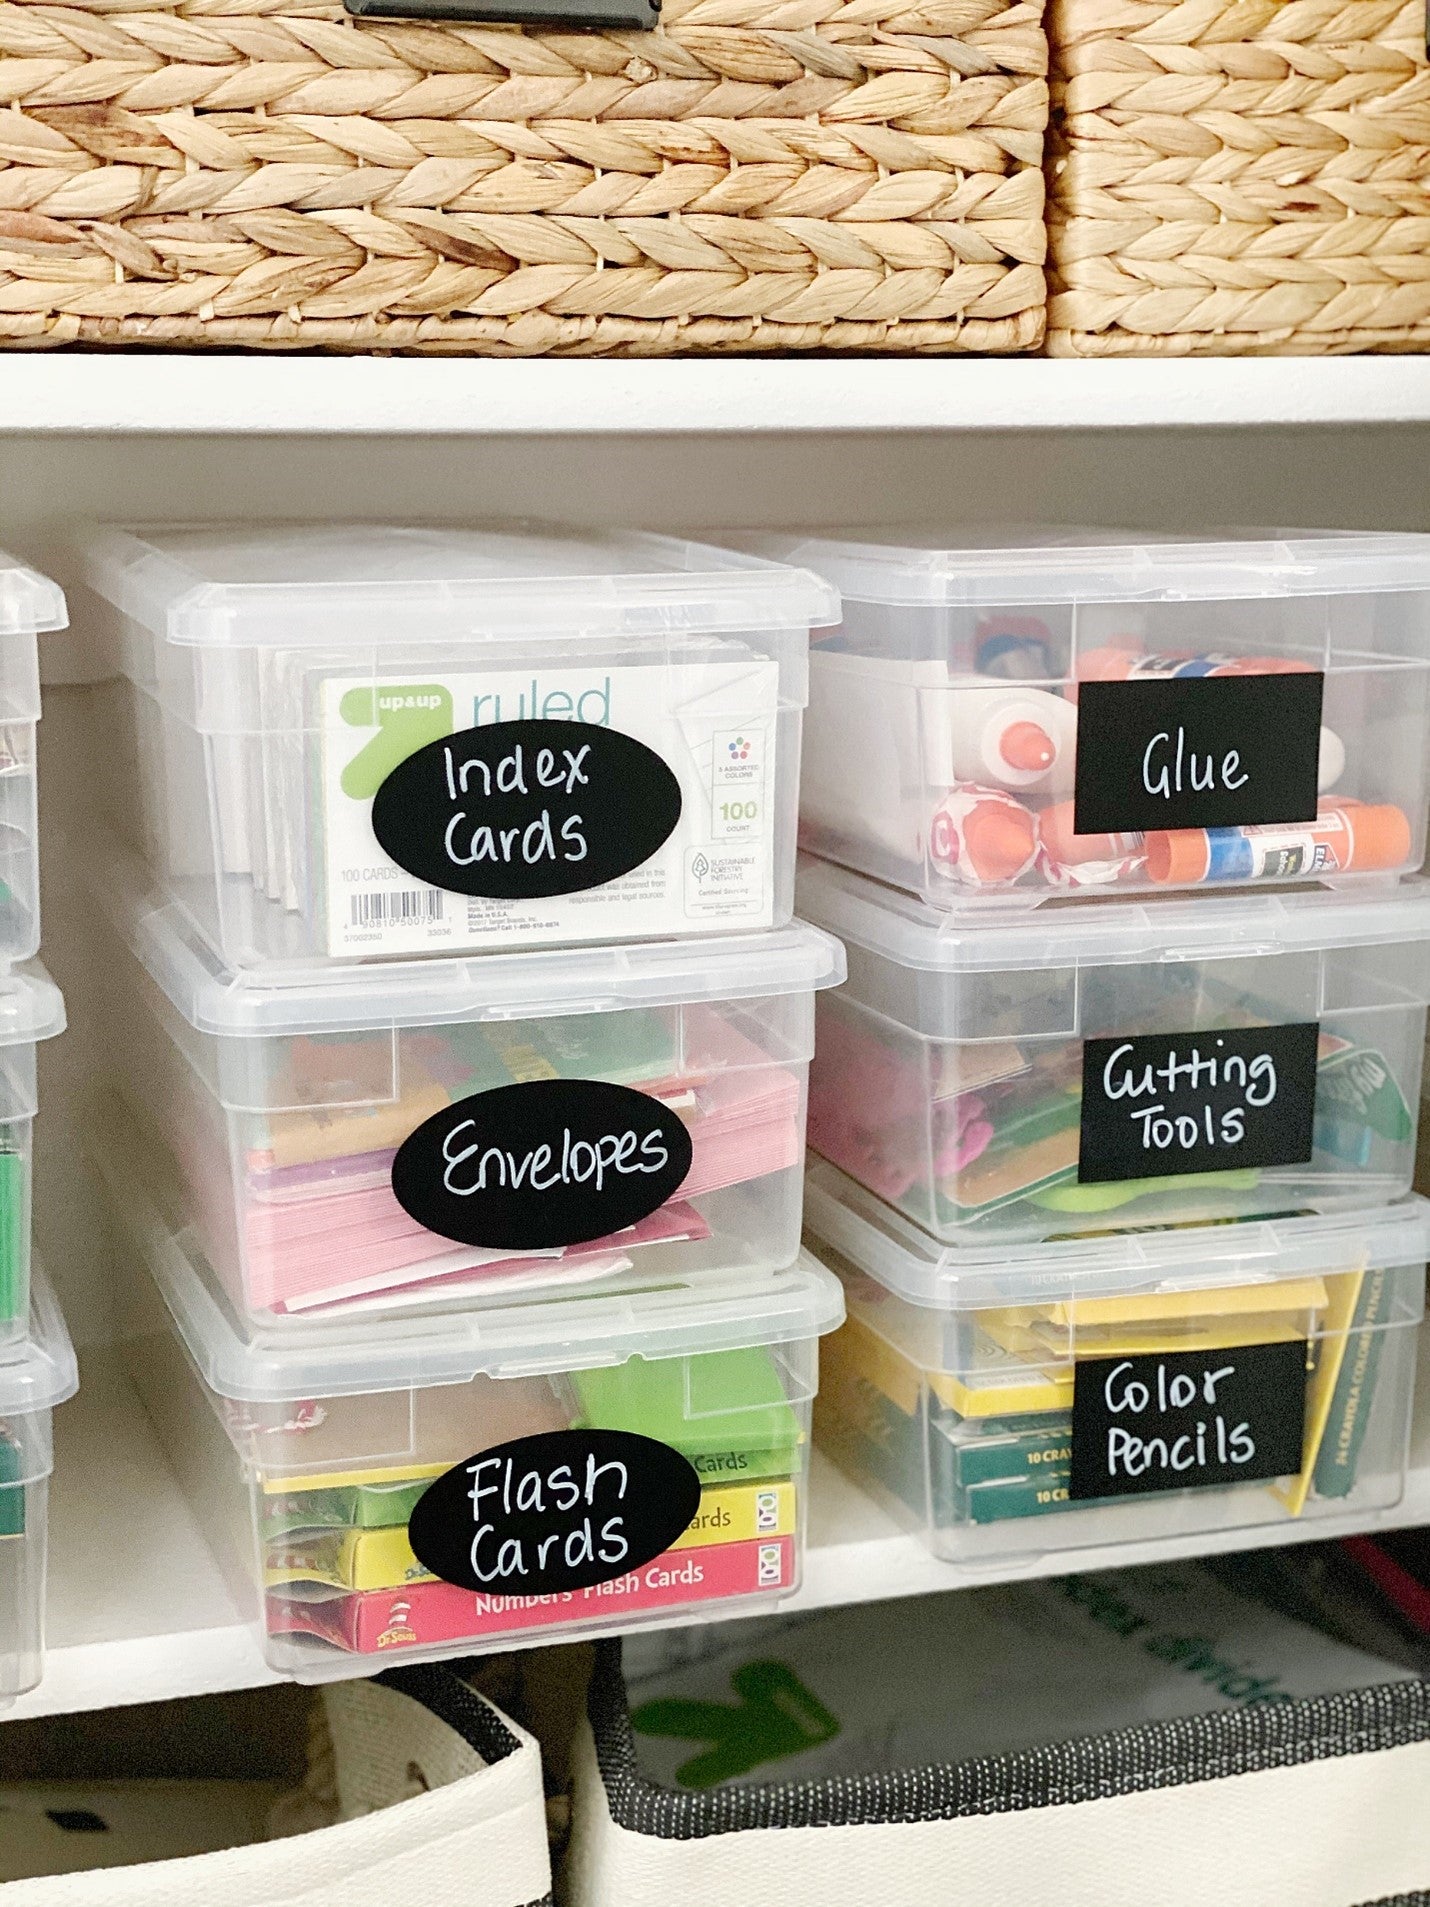
Below this shelf is a bulk of the kids school supplies. I like that it is easily accessible to them when they need to grab items.
Further down are large canvas bins, I stored extra party supplies, including decorative paper plates, gift bows, tissue and extra gift bags. I also stored bigger school supply items like binders and folders.
On the very bottom is the bag that holds my Cameo and additional cutting accessories. I like that it also has a spot tucked away.

With such a small space, it was important to make use of the space wisely. The elfa door organizer from the Container Store, provided the optimal solution for gift wrapping supplies, just in time for the holidays. I currently have a workspace to the right of this hallway, so everything is easily accessible.
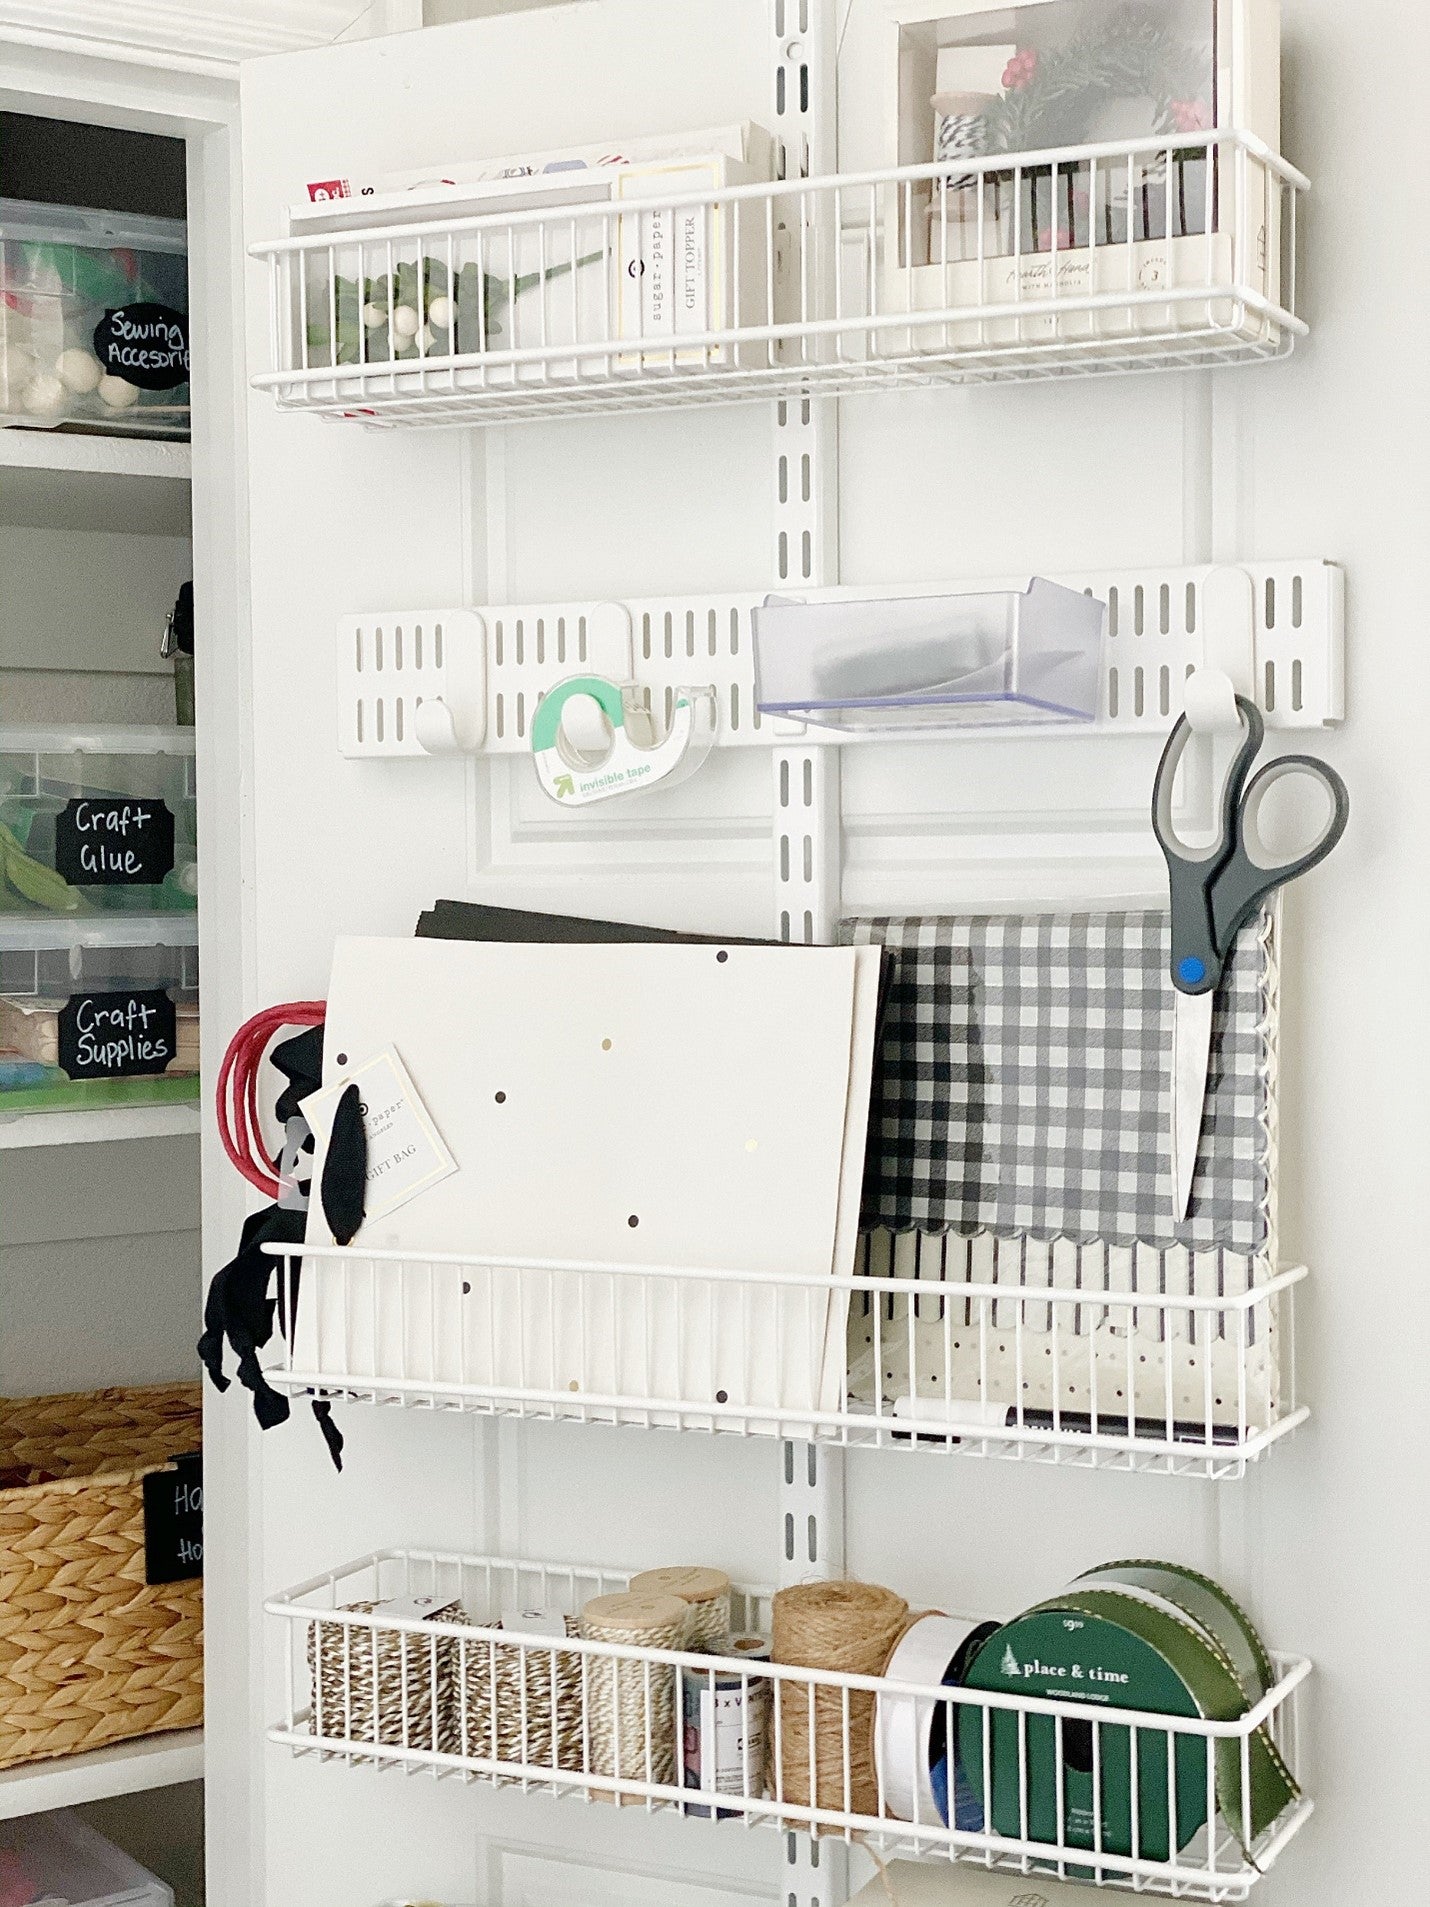
Here you will find the gift wrapper holder on the very bottom and several bins to hold ribbon, twine, tape etc. You can customize this organizer for your specific needs. The door organizer is organized and ready for gifting season.

For my labeling system, I used left-over chalkboard labels from my pantry project. The system has worked well and provides flexibility because they are reusable.
As a reminder, here is where we started…

And what it looks like after…

This project was just what our family needed to stay organized for the school year and beyond. Thank you so much for allowing me to share my project with you. For more inspo you can visit my blog or follow me on Instagram @ScotsHillHouse.
Torie
Some of the product links are affiliate links, meaning, at no additional cost to you, we will earn a commission if you click through and make a purchase.


